How to publish a VS Code extension to Open VSX
Publish a VS Code extension to Open VSX with the right account, namespace, token and VSIX, plus practical fixes for common errors.

Builds VSXRank · 6 min read
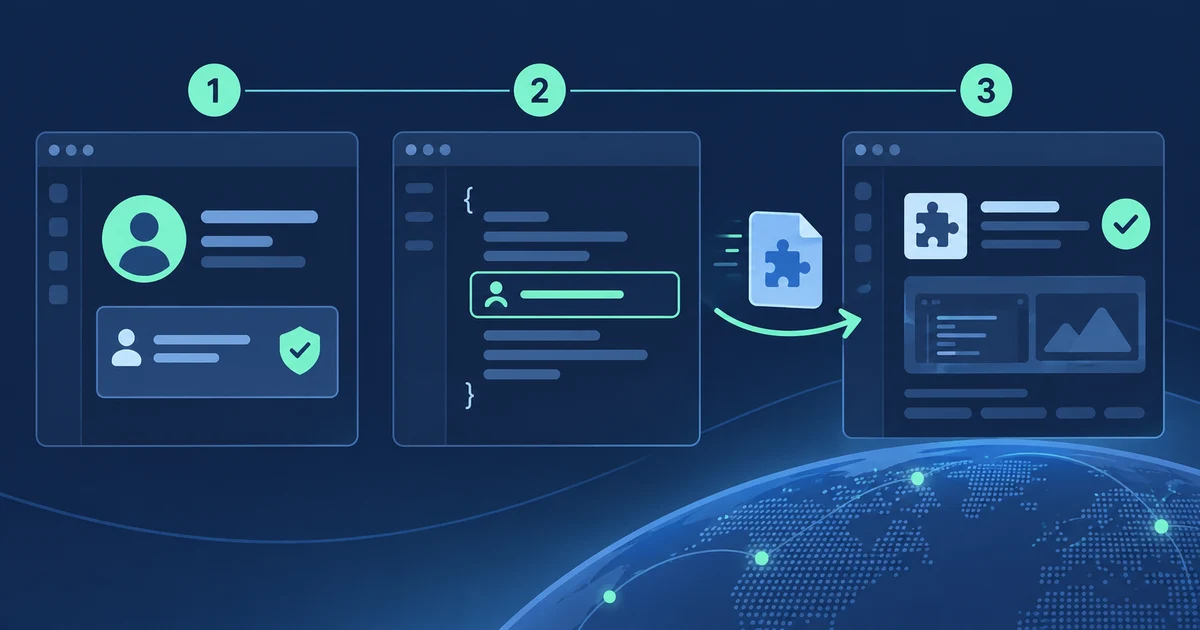
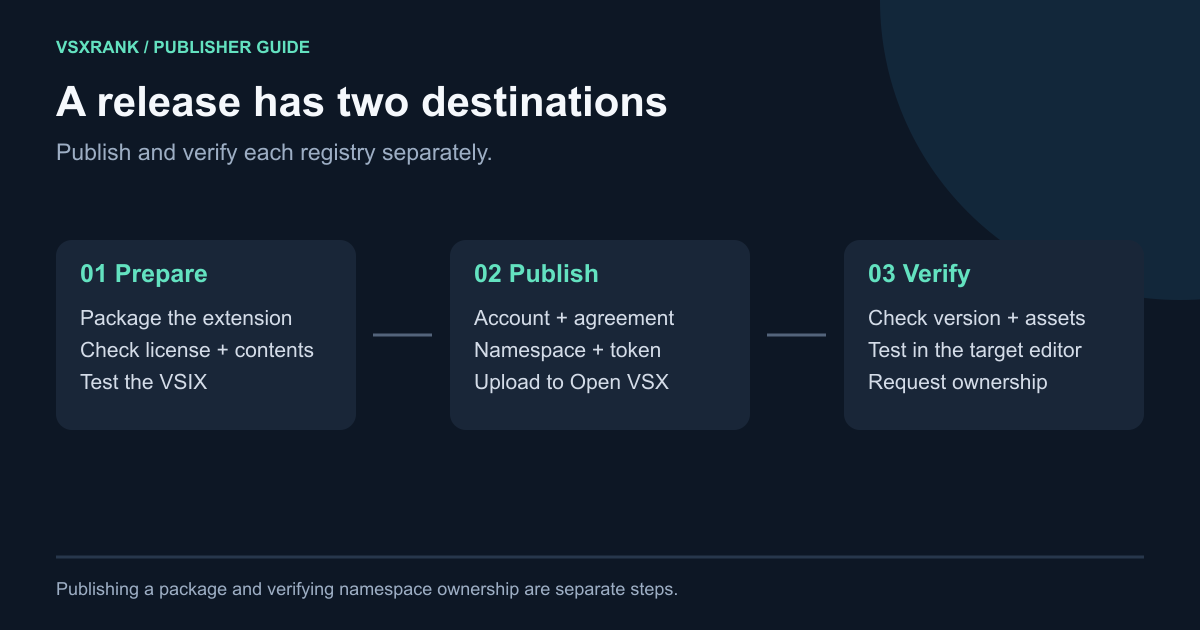
Publishing to Open VSX puts your extension in the open registry used by editors and products configured to consume open-vsx.org. The first release takes more than one command: connect matching GitHub and Eclipse accounts, accept the Publisher Agreement, create a token and create the namespace named by your manifest. After that setup, ovsx can package and upload the extension from source or publish a VSIX you already built. This guide covers the complete path and the errors most likely to interrupt it.
How to publish a VS Code extension to Open VSX#
Before touching the CLI, inspect these fields in package.json:
{
  "name": "your-extension",
  "publisher": "your-publisher",
  "version": "1.0.0",
  "license": "MIT"
}
Open VSX publishes the extension as your-publisher.your-extension; the publisher value is also the namespace you must create. The Eclipse Foundation requires every extension to have a licence, expressed in the manifest with a licence expression. The licence does not have to be an OSI-approved open-source licence. Those requirements come from the Foundation’s Open VSX publisher FAQ.
1. Connect your GitHub and Eclipse accounts#
The public registry uses GitHub to sign in, but the Publisher Agreement is tied to an Eclipse account. The official publishing instructions require the GitHub Username field on your Eclipse account to match the GitHub account you use on Open VSX.
- Create an Eclipse account, or edit your existing account so its GitHub Username is correct.
- Sign in to open-vsx.org with that GitHub account.
- Open Settings → Profile, select Log in with Eclipse, and authorize the connection.
- Select Show Publisher Agreement, read it to the end and accept it.
The Eclipse Contributor Agreement is a different document and is not required for publishing. If the Publisher Agreement control never appears, first check the GitHub username on the Eclipse account and confirm that you signed in to Open VSX with the same GitHub identity.
2. Generate a token and create the namespace#
In Open VSX, open Settings → Access Tokens, generate a token and copy it before closing the dialog; the value is shown only once. The official guide recommends a separate token for each machine or CI environment so one credential can be revoked without disrupting the others.
The official CLI reference accepts the token from OVSX_PAT, which keeps it out of the command and shell history. Set that variable with your shell’s secret-handling method, then create the namespace:
npx ovsx create-namespace your-publisherFor later local releases, ovsx login your-publisher can store the token in the operating system’s credential manager. The documented fallback is a plaintext ~/.ovsx file, so read the CLI warning and use OVSX_PAT instead if no credential manager is available.
For CI, add the token to the CI system’s secret store and expose it only to the publishing step as OVSX_PAT. Do not put the token in package.json, a workflow file or a committed .env file.
Creating a namespace makes its creator a contributor who can publish there. It does not make the namespace verified or grant owner controls. To get the verified shield and manage other members, follow the public issue process in the official namespace access guide. If the namespace already exists and you are not a member, request access from an owner or use that issue process; choosing a lookalike namespace can trigger the registry’s similarity check.
3. Build and inspect the VSIX#
You can publish straight from the extension directory, but building the artifact first makes it easier to confirm exactly what will ship:
npm ci
npx @vscode/vsce package --out extension.vsix
unzip -l extension.vsix
Check that the compiled entry point, README, licence and any runtime assets are present. Also look for local configuration, test fixtures, private keys and generated files that should not leave the repository. Update .vscodeignore, then rebuild if necessary.
ovsx uses vsce to package extensions and runs the vscode:prepublish script from package.json. If your project uses Yarn to run scripts, the official publishing guide says to pass --yarn.
4. Publish the inspected artifact#
With OVSX_PAT set or a token stored by ovsx login, publish the exact VSIX you inspected:
npx ovsx publish extension.vsixIn CI, make the secret available as OVSX_PAT and run the same command. Publishing the same built artifact to each registry also prevents the two listings from drifting because of separate builds.
If you prefer to package and publish in one command, run this from the extension root:
npx ovsx publishAfter a successful response, open https://open-vsx.org/extension/your-publisher/your-extension and verify the title, README, repository link, licence, icon and current version. A successful upload only proves that the registry accepted the package; checking the page catches missing assets and packaging mistakes.
Fix common Open VSX publishing errors#
“You must log in with an Eclipse Foundation account and sign a Publisher Agreement”#
Return to Settings → Profile and reconnect the Eclipse account. Confirm its GitHub Username exactly matches the GitHub login used for Open VSX, then reopen and accept the Publisher Agreement. Signing the Eclipse Contributor Agreement does not satisfy this check.
“Unknown namespace” or permission denied#
Compare package.json → publisher with the namespace in Open VSX. Create that exact namespace if it does not exist. If it does exist, you need to be a member: an owner can add you as a contributor, while ownership requests use the process in the namespace access guide. A CI bot should normally be a contributor, which can publish but cannot change membership.
Authentication fails in CI#
Confirm the secret is exposed to the publish step under the exact name OVSX_PAT, has not been revoked and has not been replaced by a masked empty value on untrusted pull requests. Generate a dedicated CI token rather than copying a developer-machine token. Avoid printing the environment or passing the token directly on the command line, where it may enter logs or shell history.
The server rejects the package during scanning#
Open VSX can inspect an uploaded VSIX for leaked secrets, hashes of known-bad files and names that resemble existing extensions. Its extension scanning guide recommends reading the specific error, inspecting the VSIX contents and excluding unnecessary files with .vscodeignore. Remove an actual secret and rotate it; do not merely exclude a credential that remains valid elsewhere in the repository. For a false-positive blocklist or a legitimate related name, contact the registry operator as the guide directs.
The listing is published but shows a warning icon#
Publishing access and verified ownership are separate. A new namespace initially has no owner, so its extensions remain unverified even though its creator can publish. File the public namespace ownership request, and make sure future releases are published by a namespace member. Our registry verification guide explains how that differs from verification on the VS Code Marketplace.
Keep the two registry listings aligned#
Use one release version and one reviewed VSIX per release, and fail the release if either upload fails. Check both listing pages before announcing the version. Open VSX reports downloads, including update downloads, while the Marketplace reports a different counter, so do not combine their totals; here is how to interpret the Open VSX download count.
VSXRank matches listings with the same publisher.name. Once the Open VSX entry appears in our catalogue, the two registry views can sit together on one extension page. Open the live demo to see the combined view and the four-hour Open VSX download intervals before adding your own extension.